Max out your manicure with our easy guide to selecting the right false nail size for each fingertip
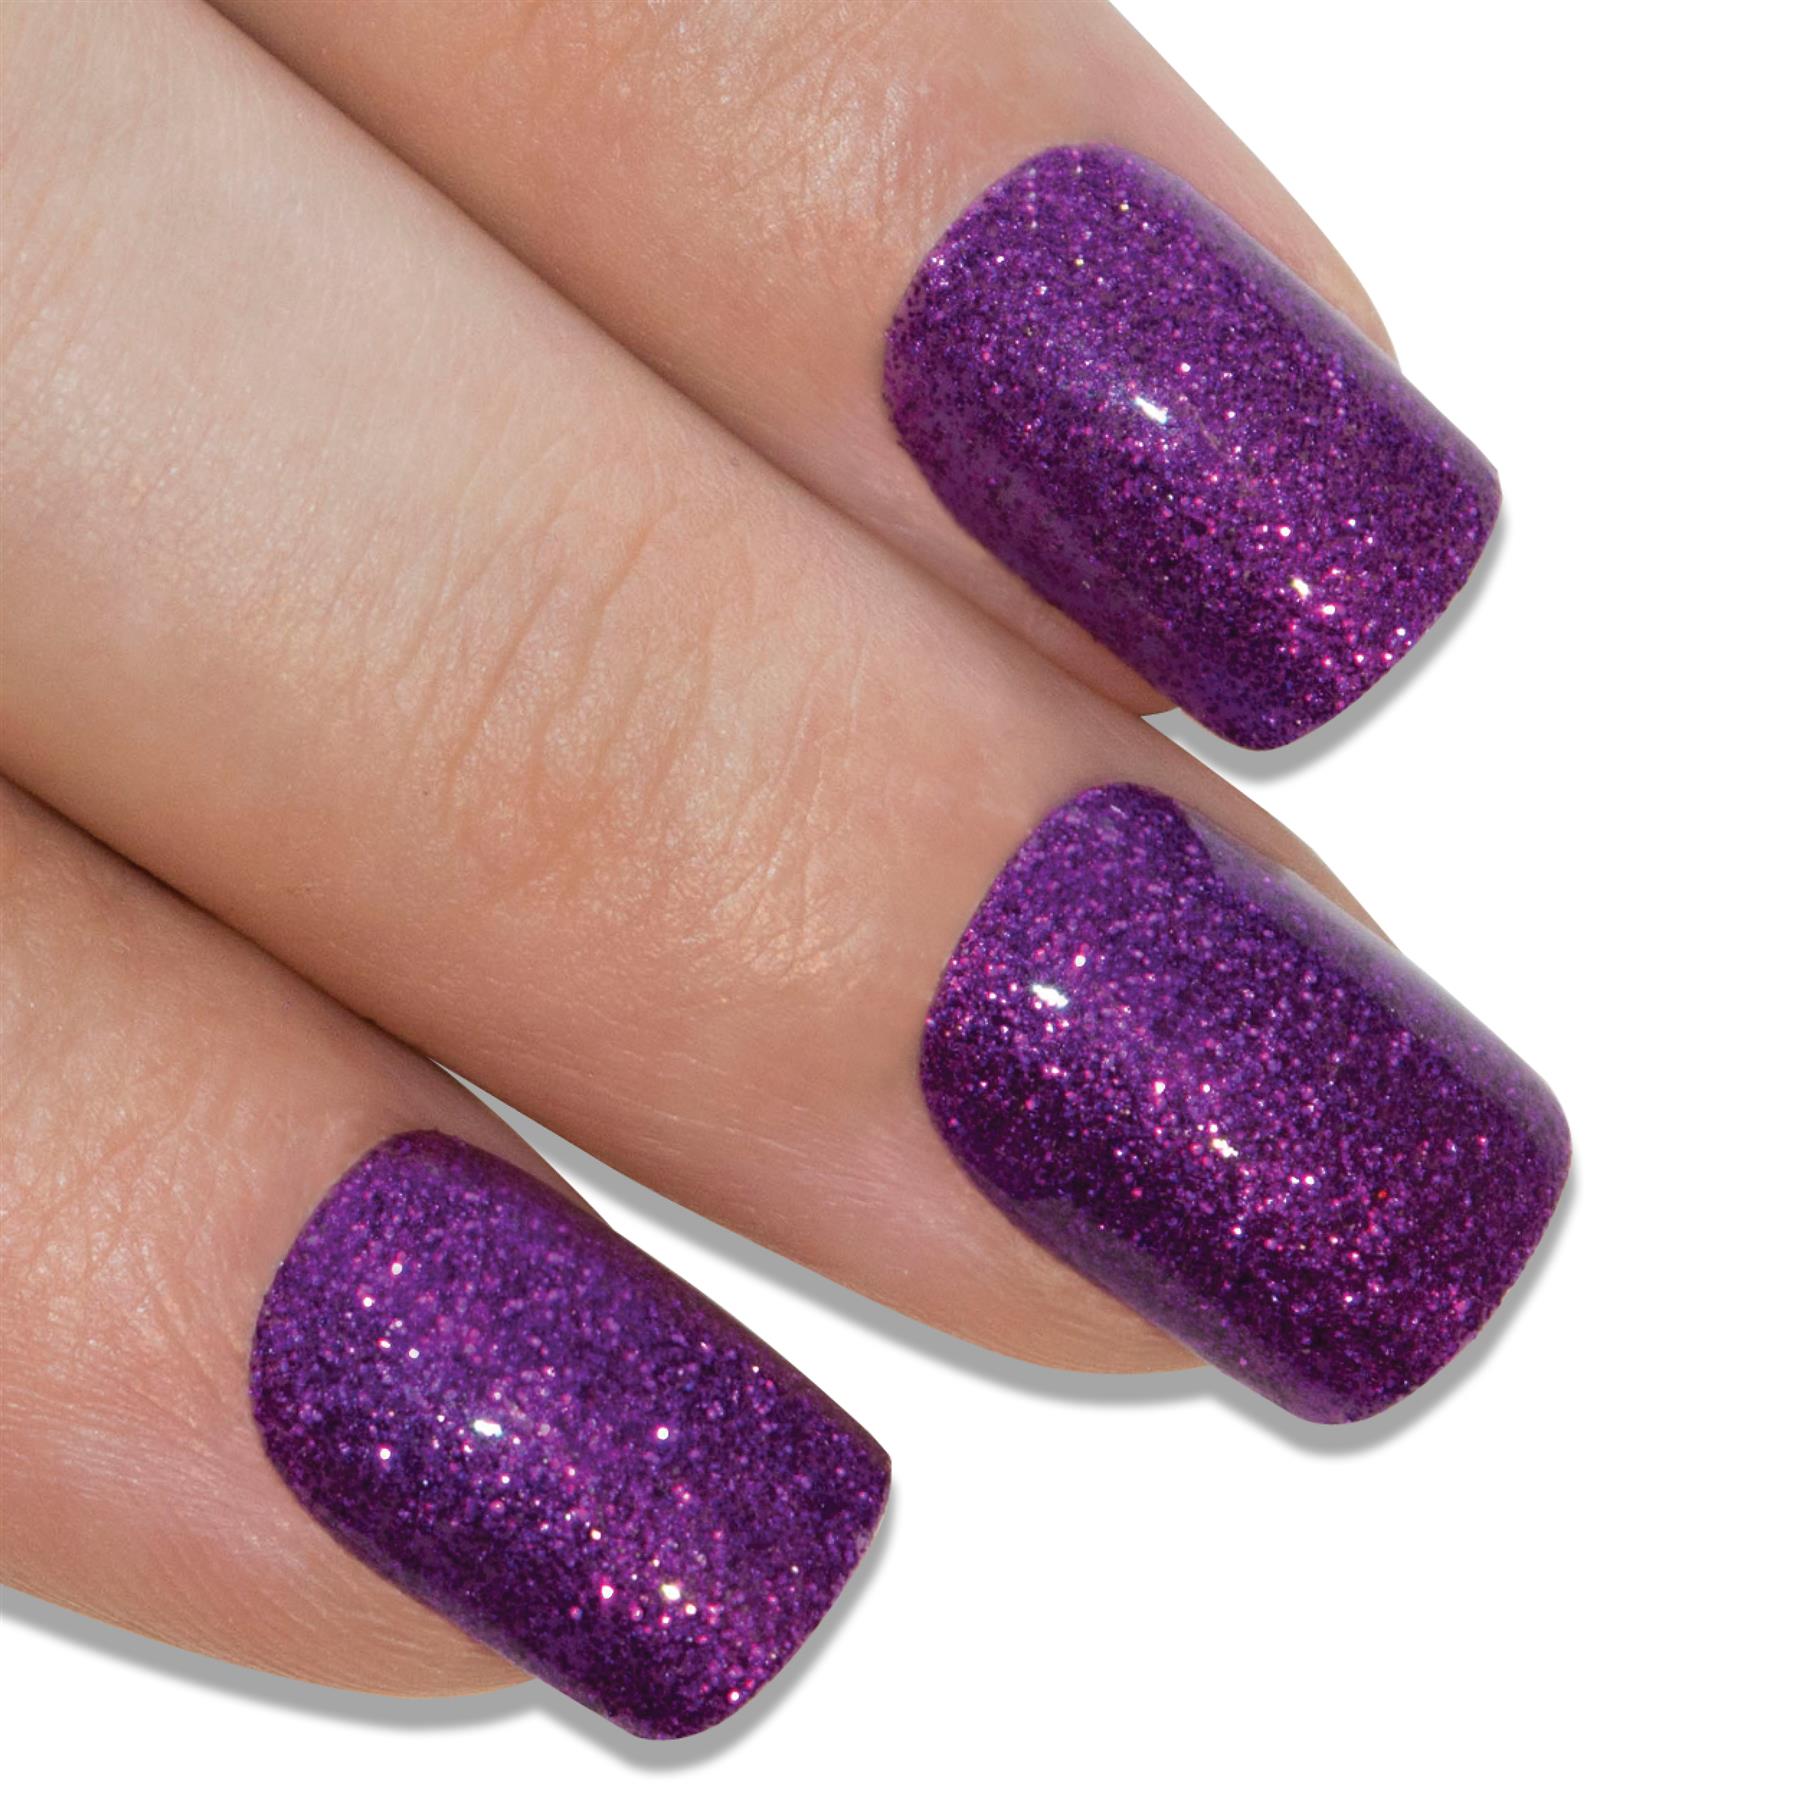
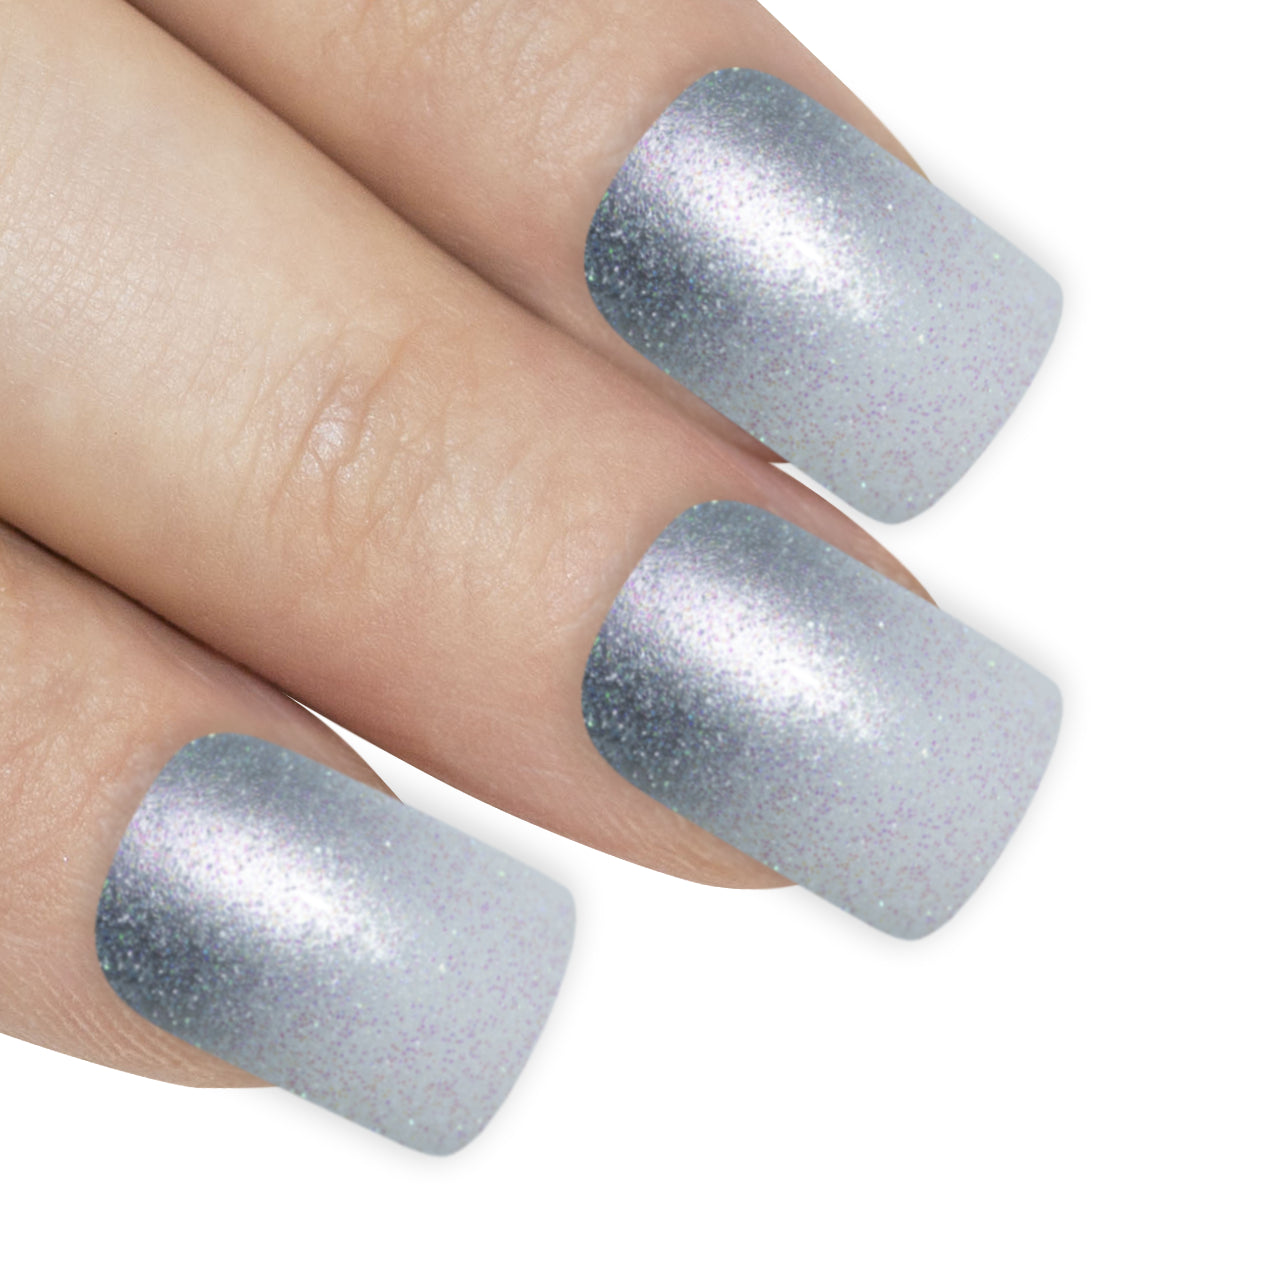
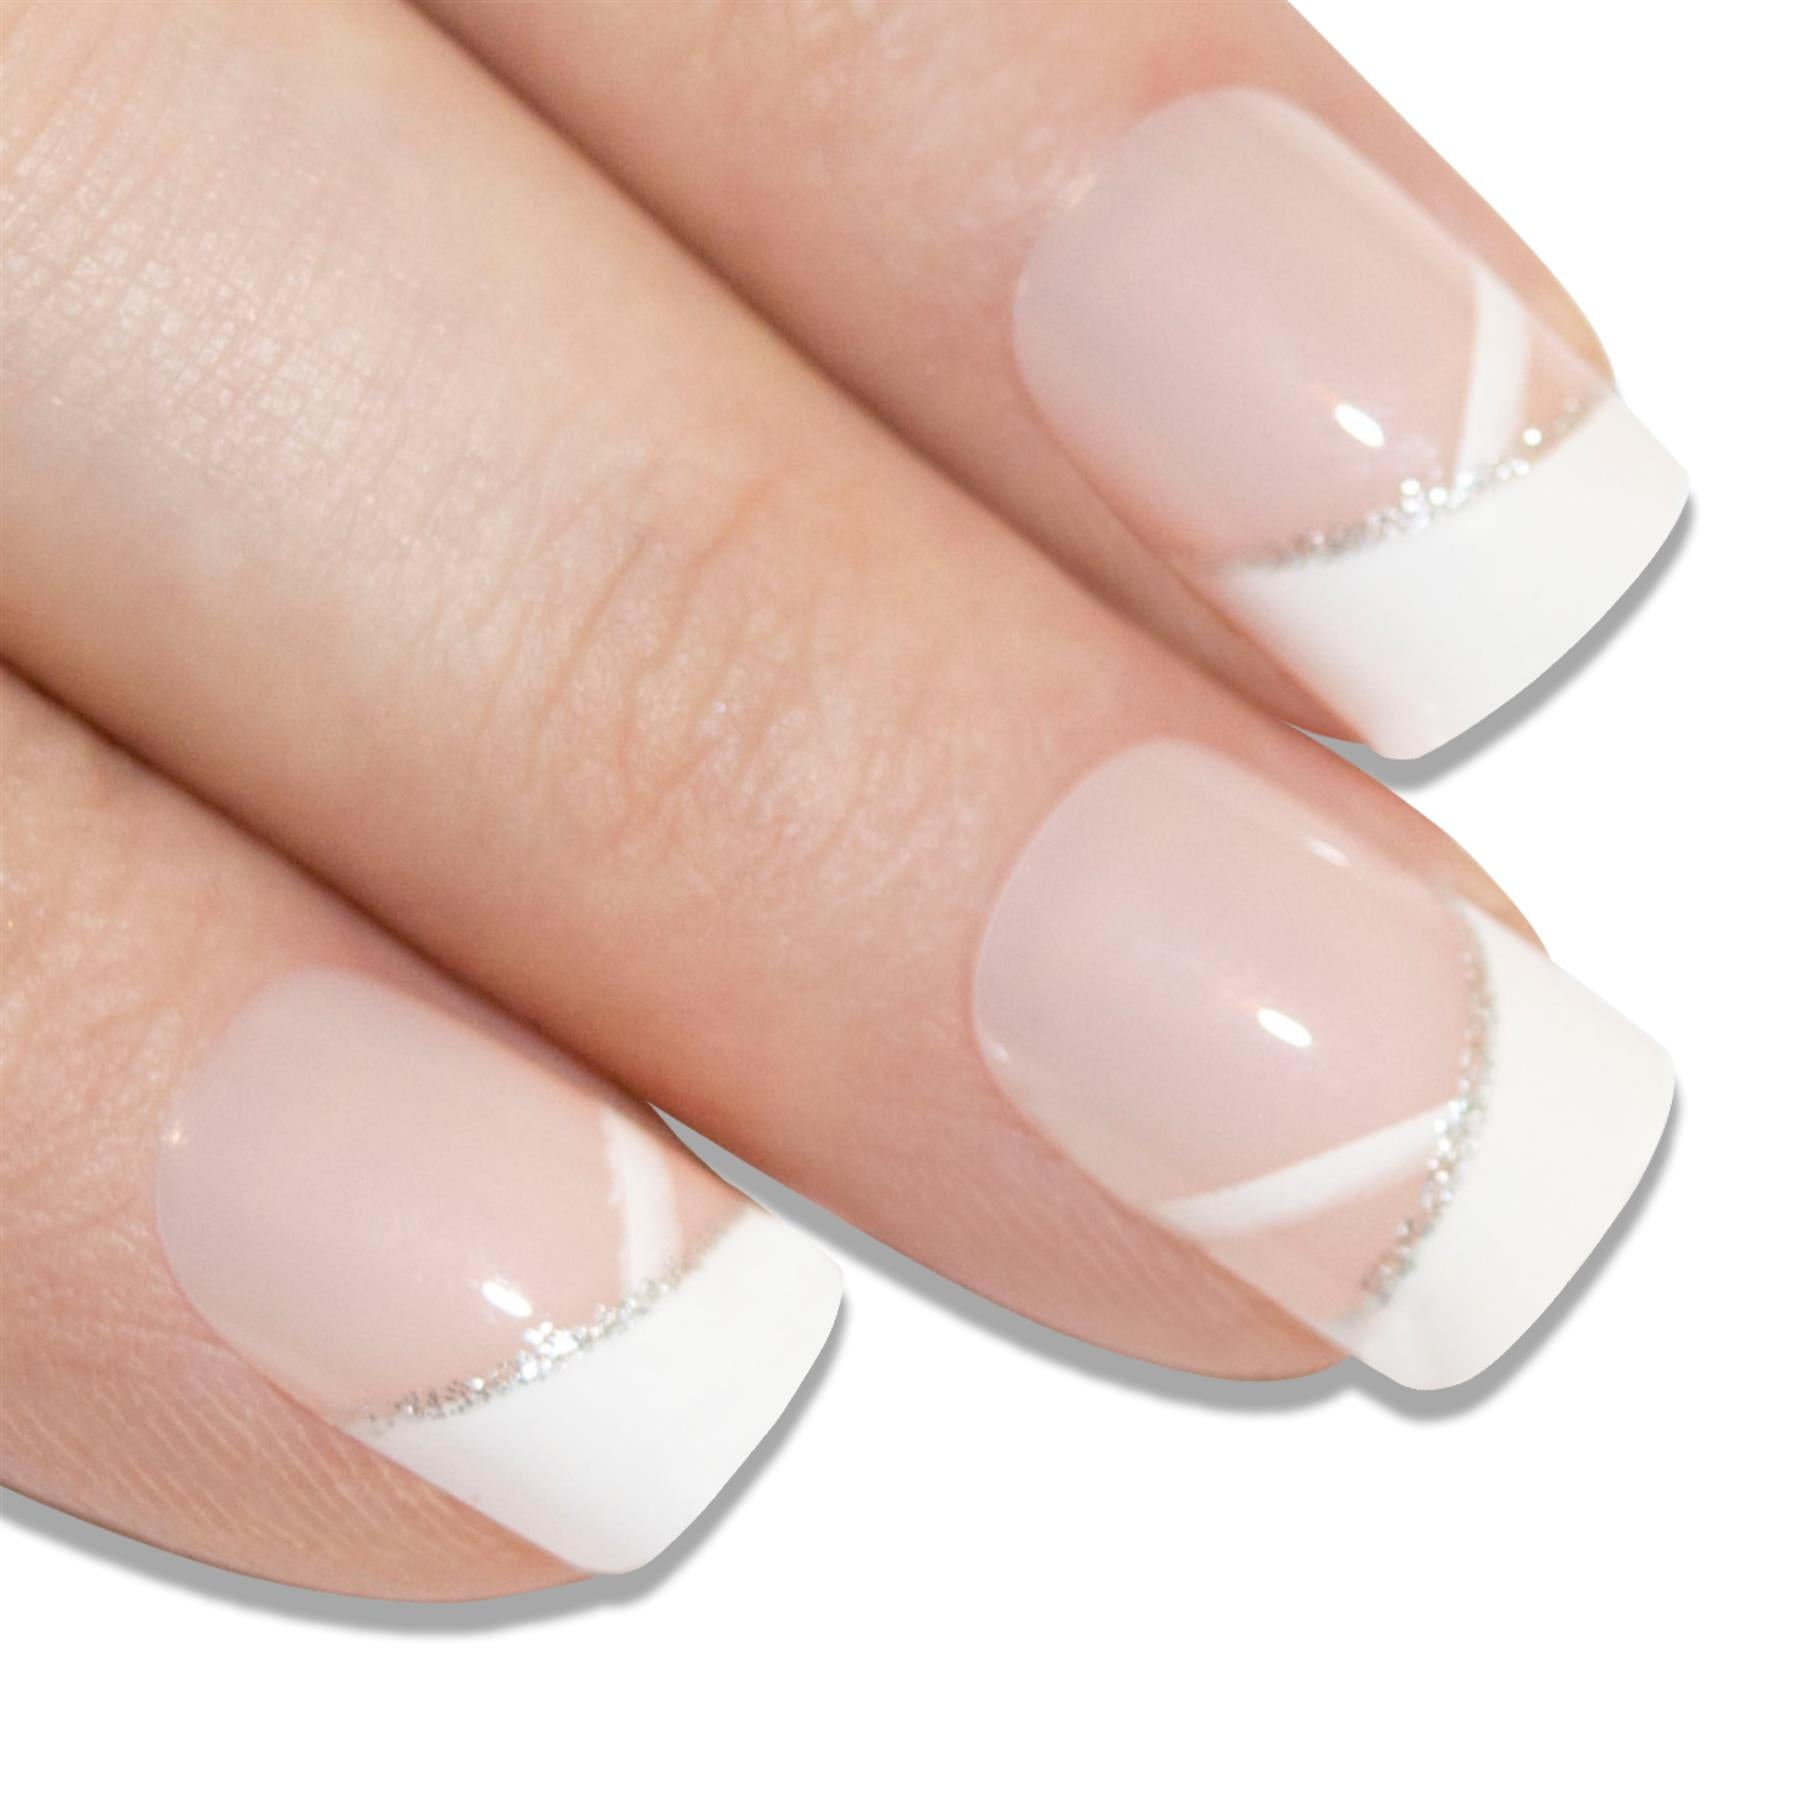
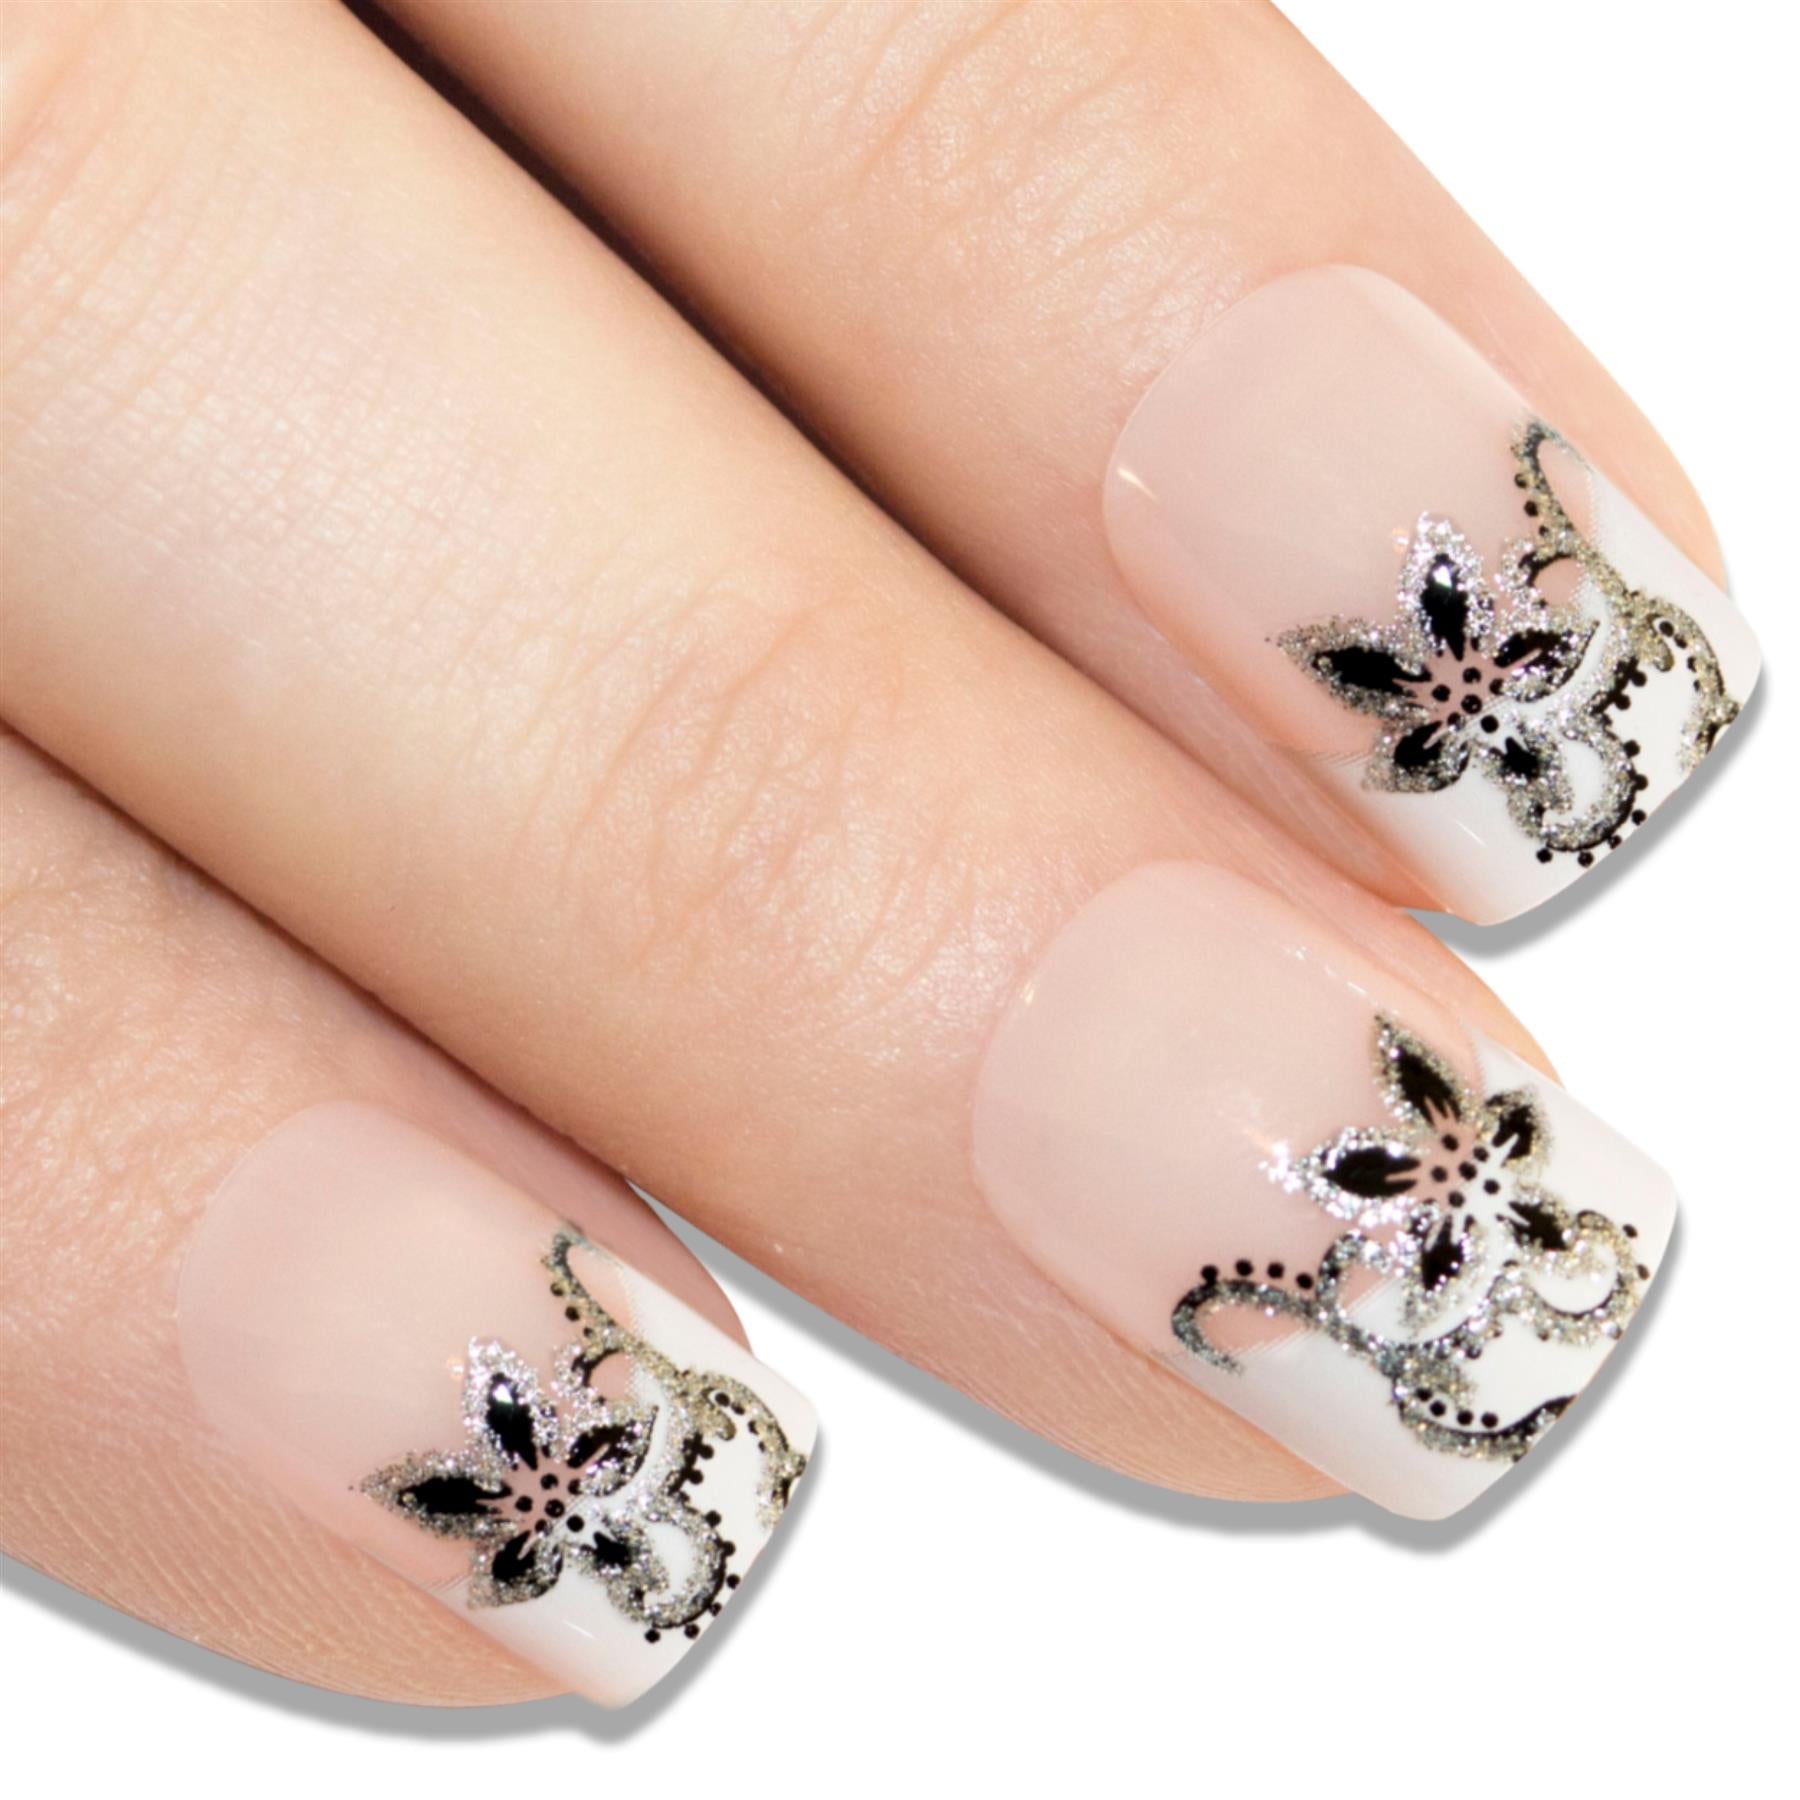
False nails are now a highly decorative and cost-effective way to bring a salon finish to your tips, whereas they used to be formless lumps of plastic that were typically one flat, dull shade, now they’re expertly engineered for each fingertip with beautiful and intricate style details. When you wear the new premium quality false nails now people really can’t tell that you haven’t gone to a salon and spent hundreds of pounds on the latest nail art.
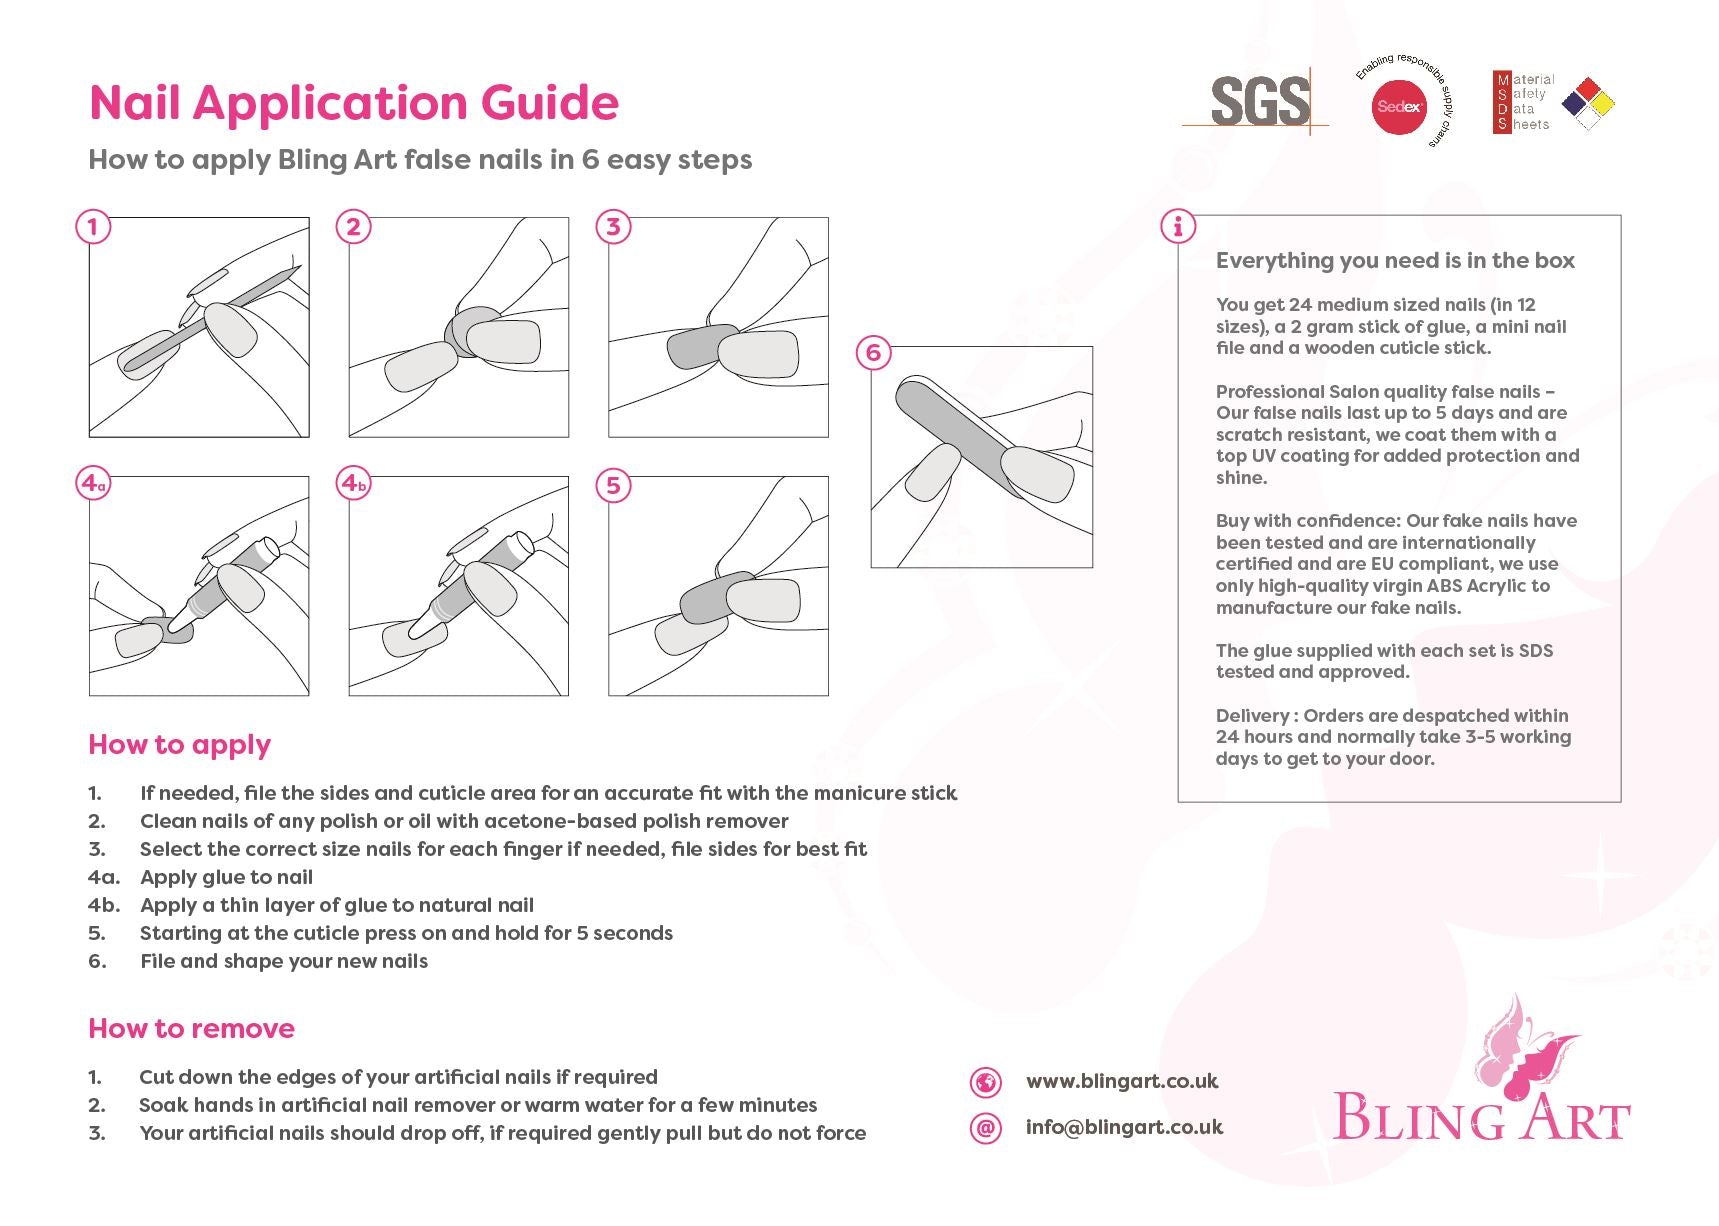
But to truly take advantage of the dramatic advancement in false nail design, you need to customize your application - by selecting the most appropriate size to fit each fingertip. That’s why we compiled this handy guide to applying the correct nail sizes to your tips and help you get the maximum out of your manicure.
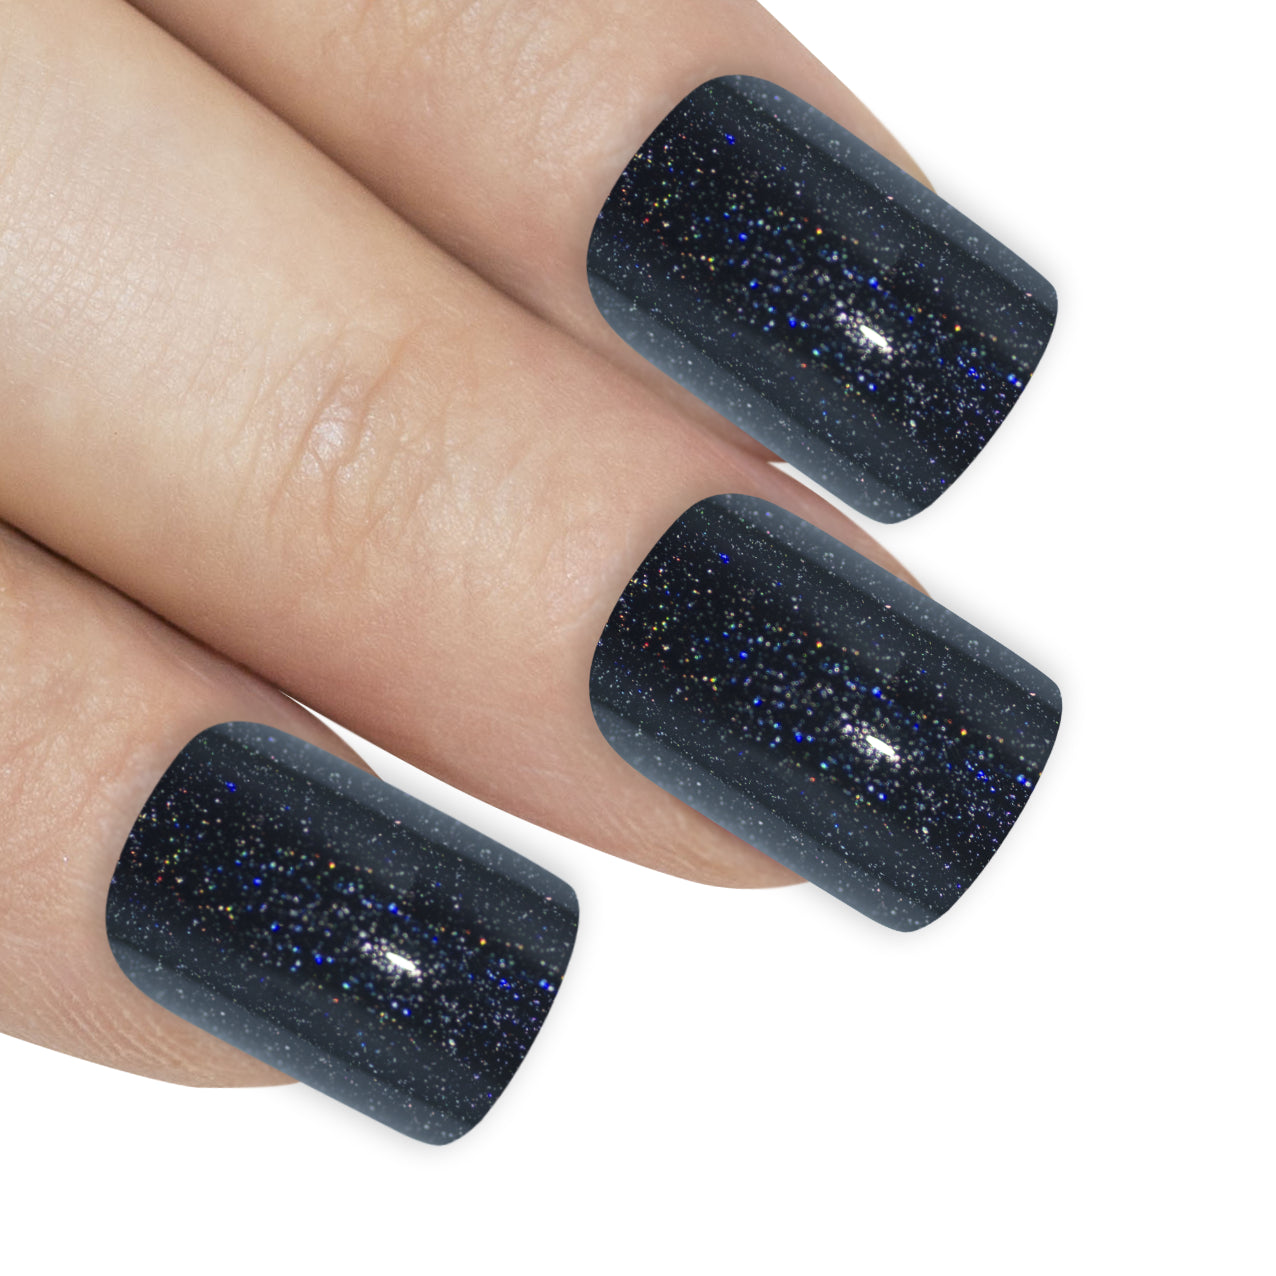
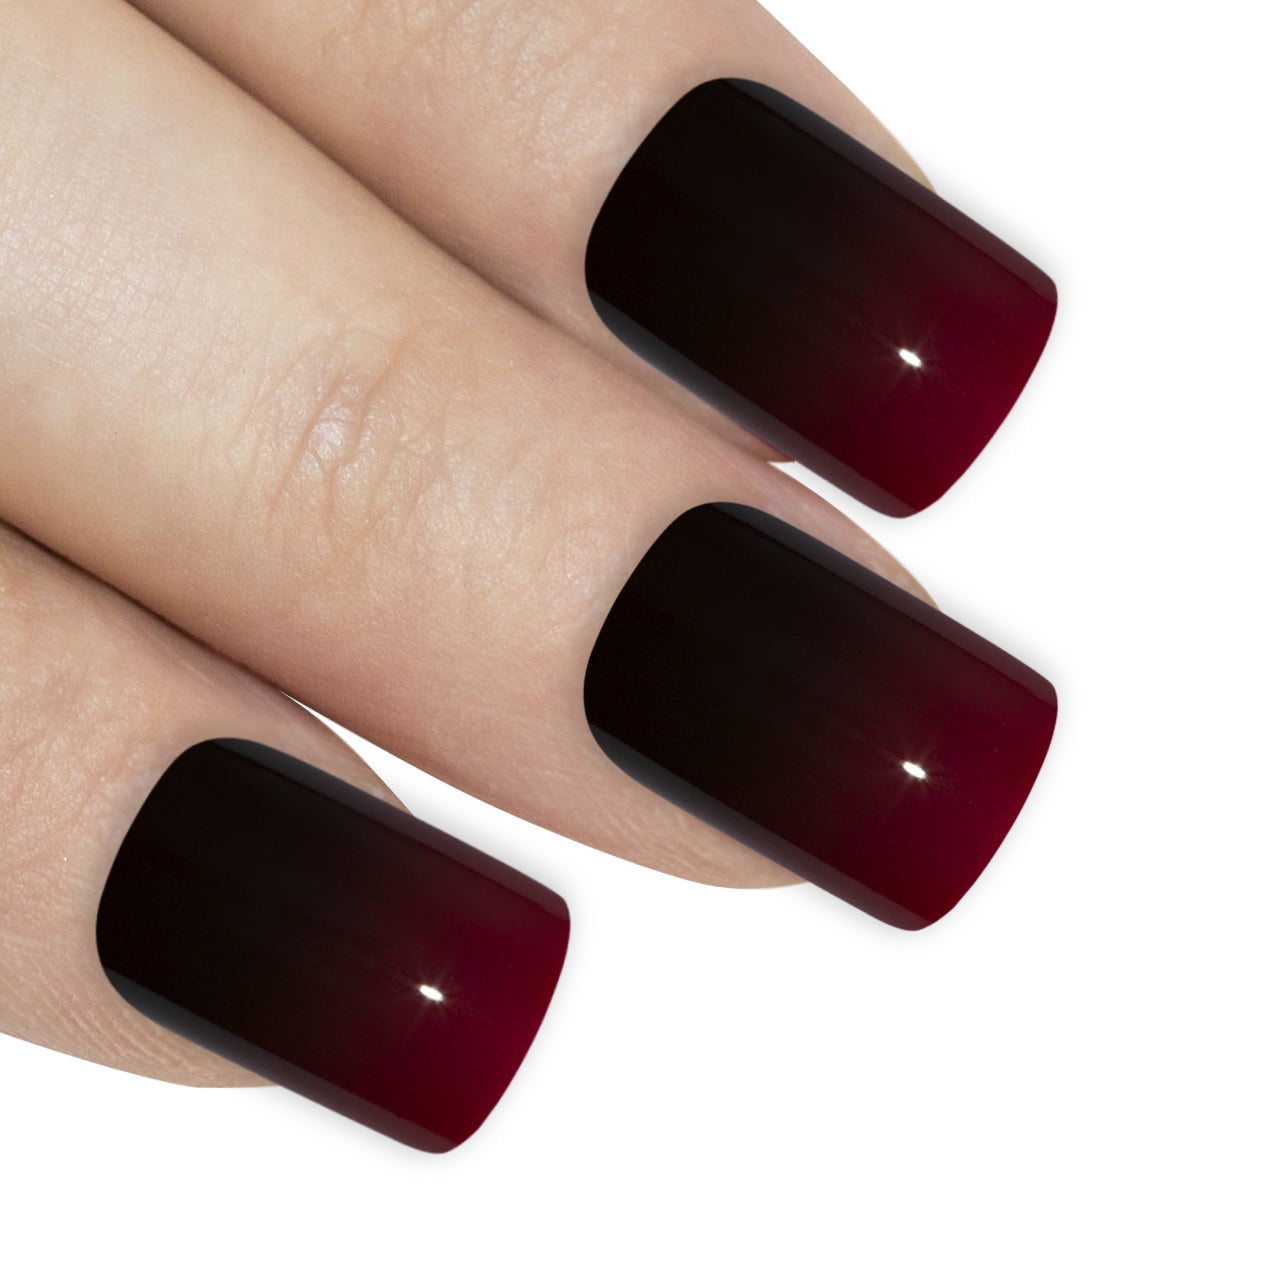
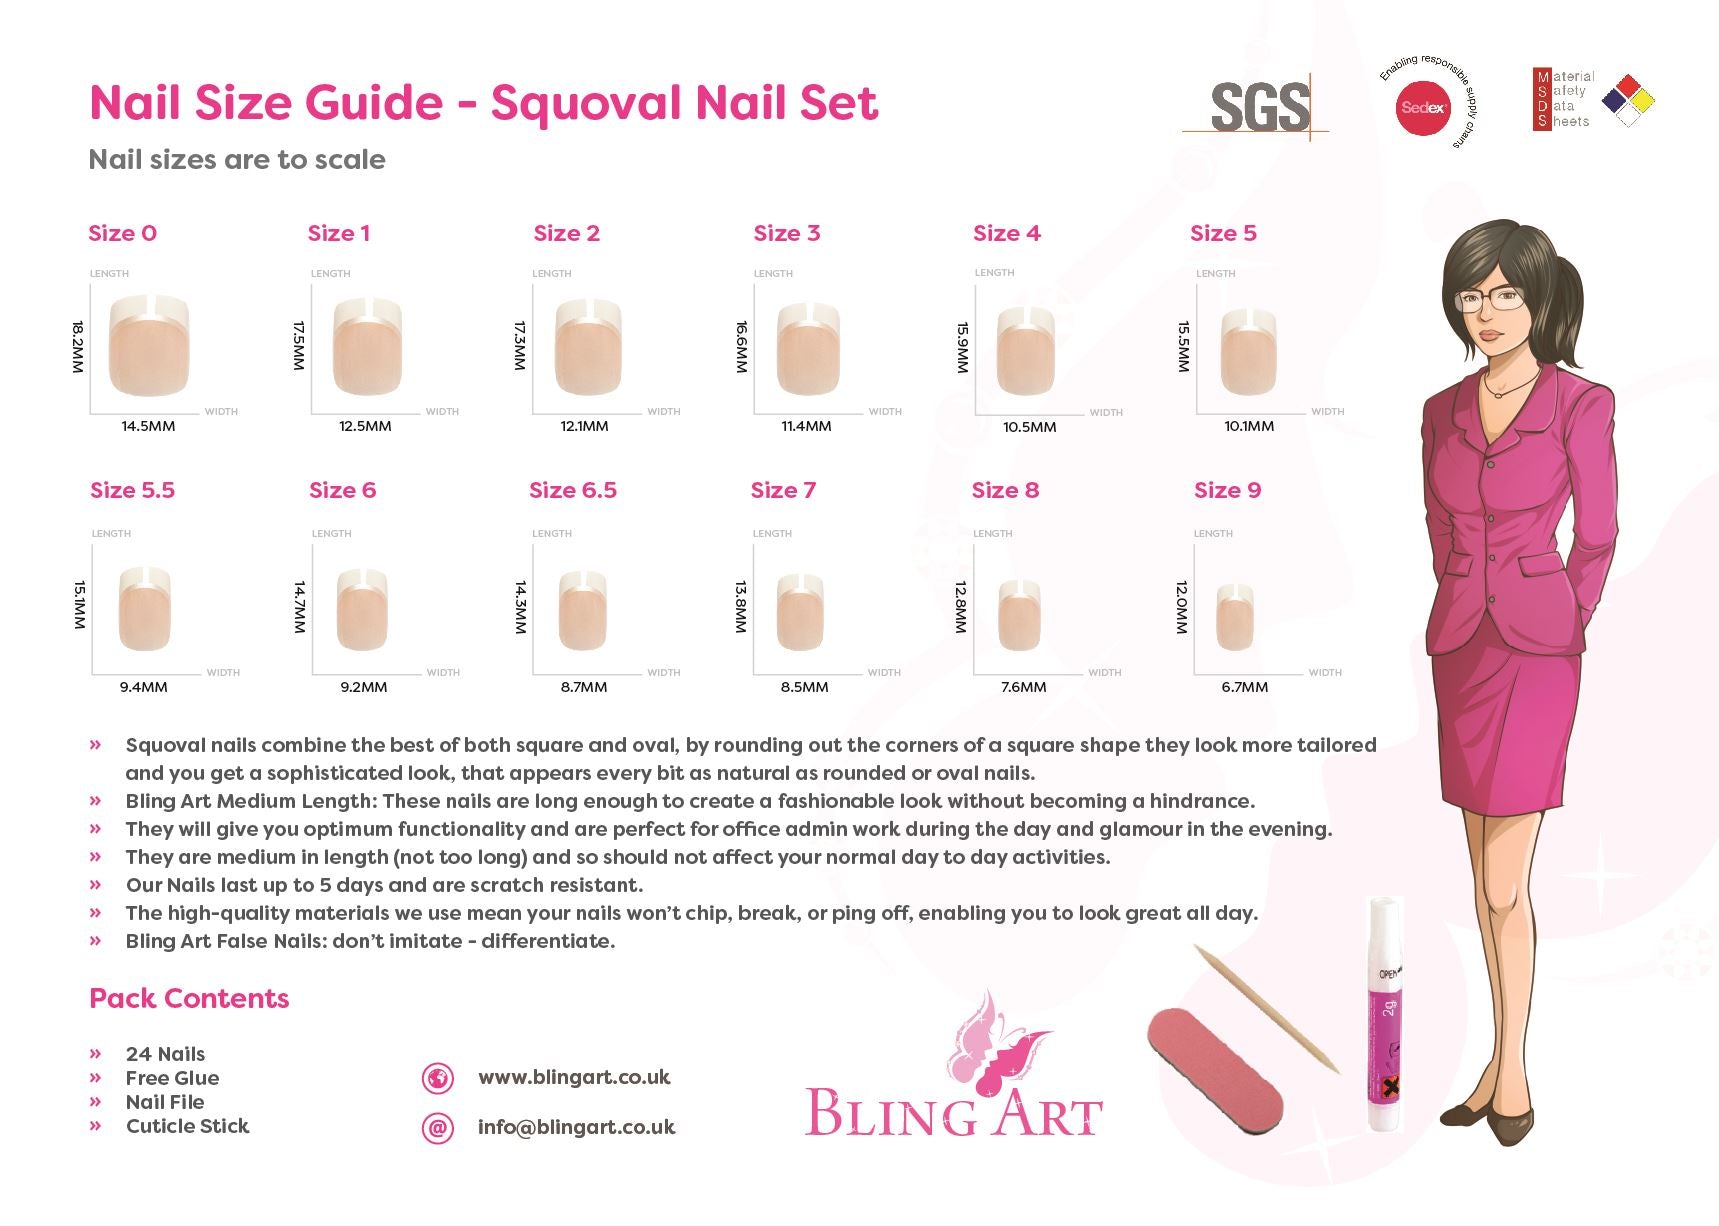
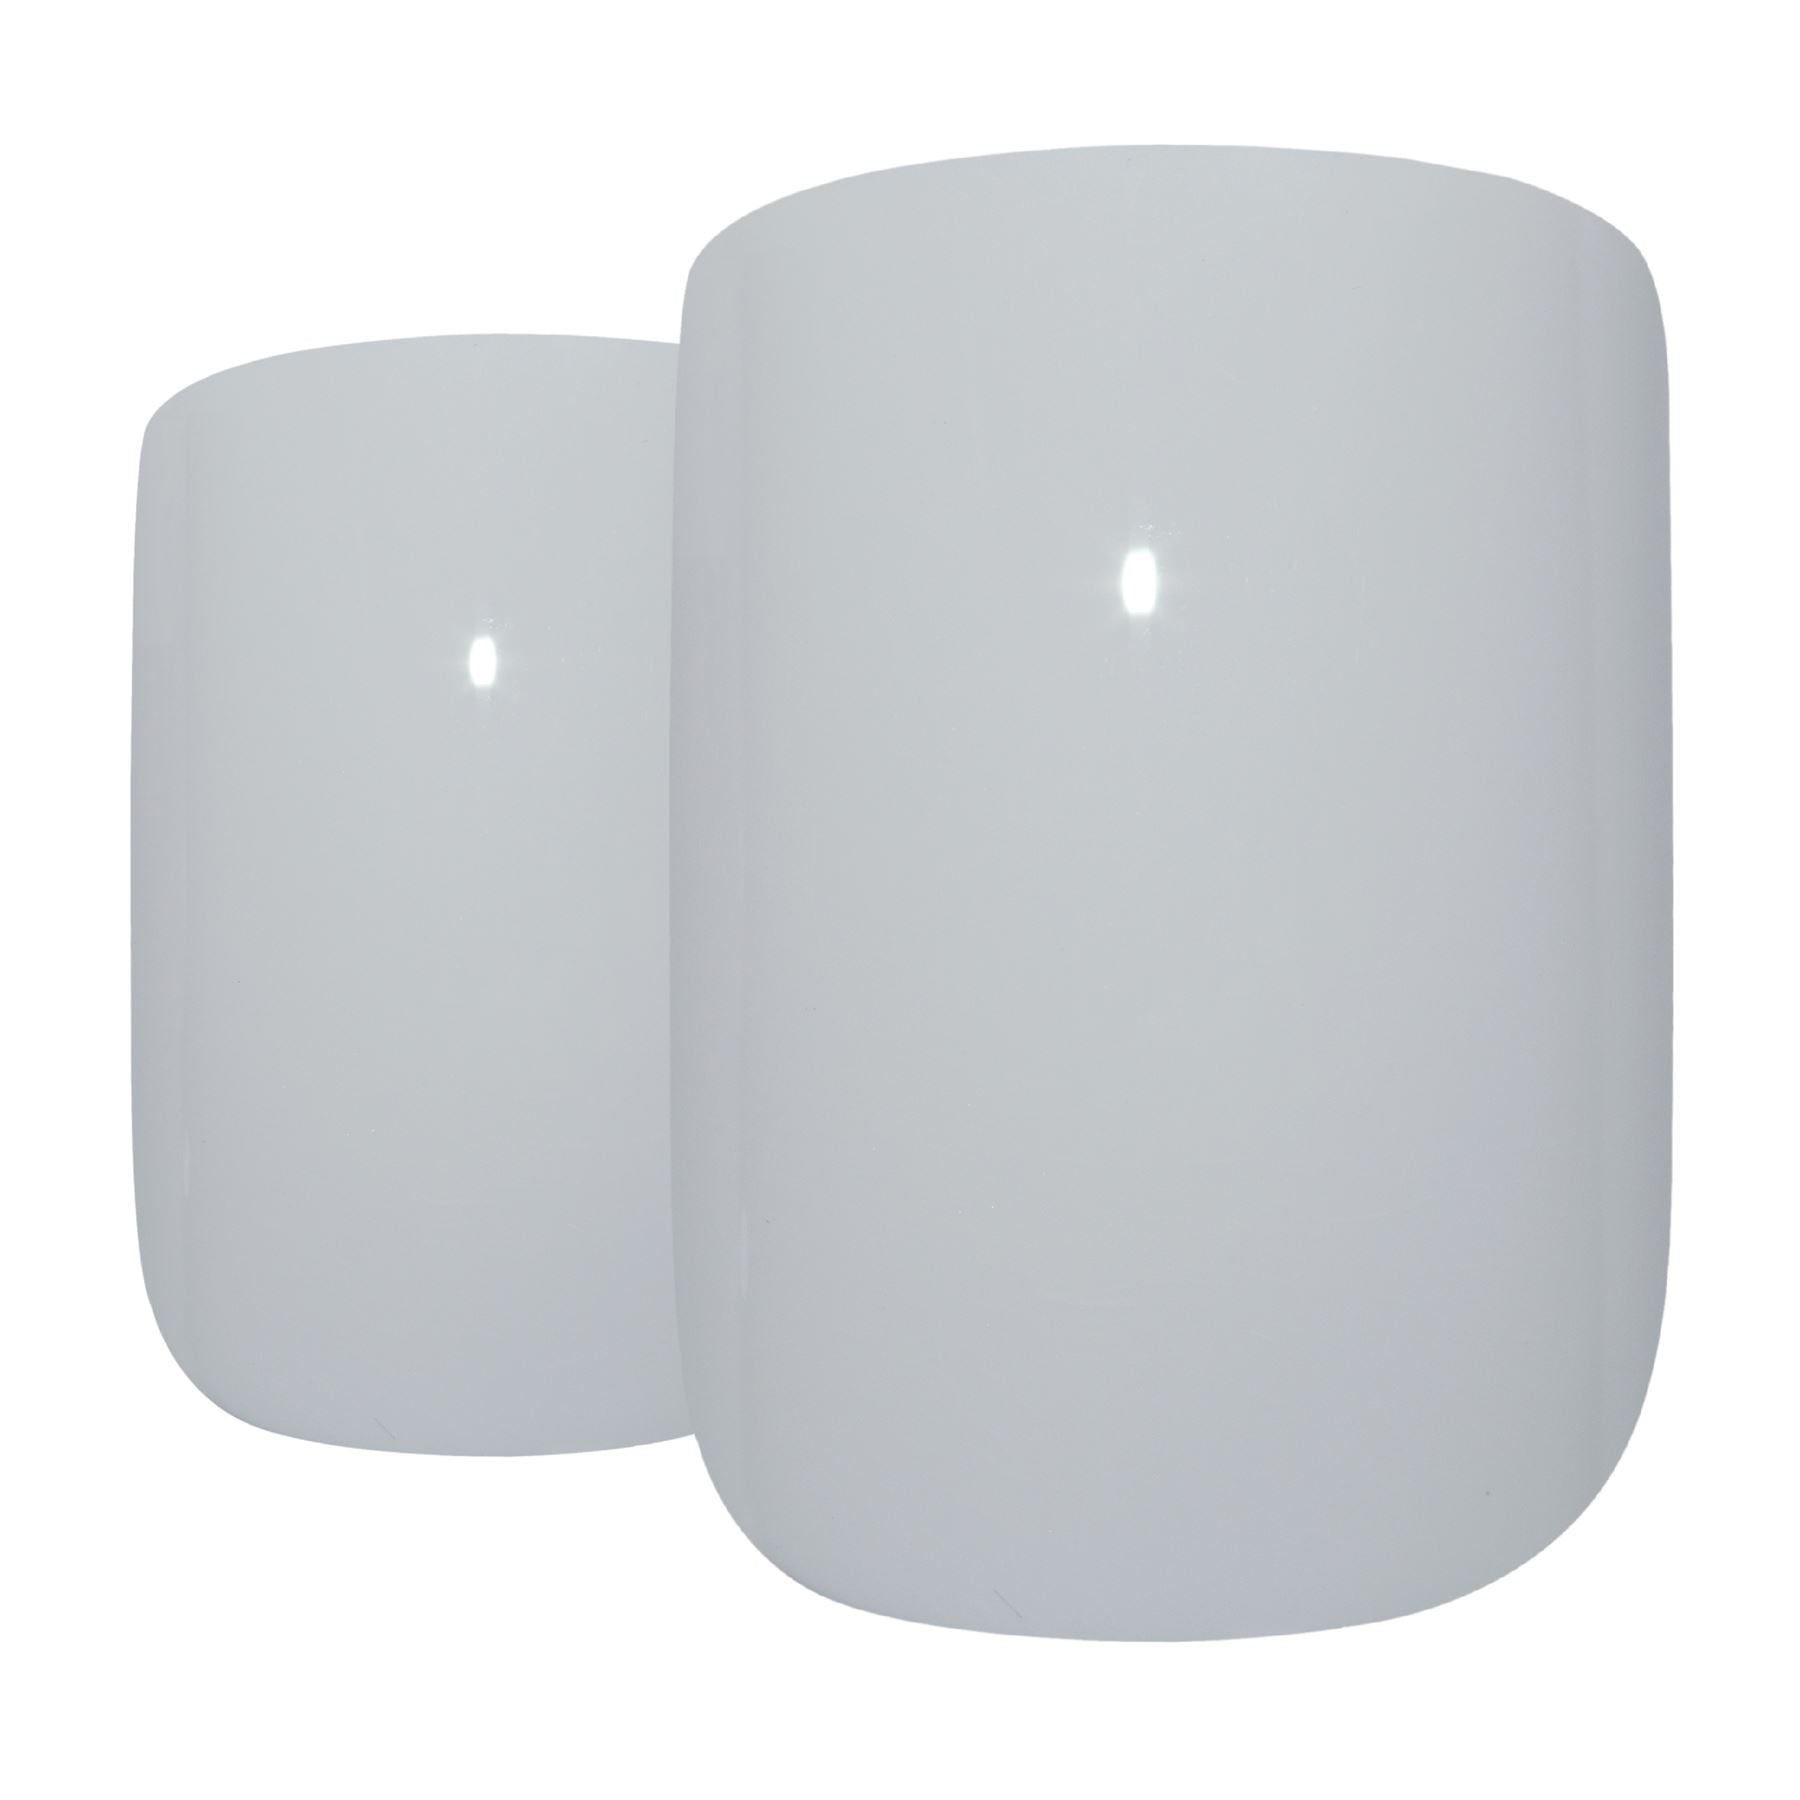
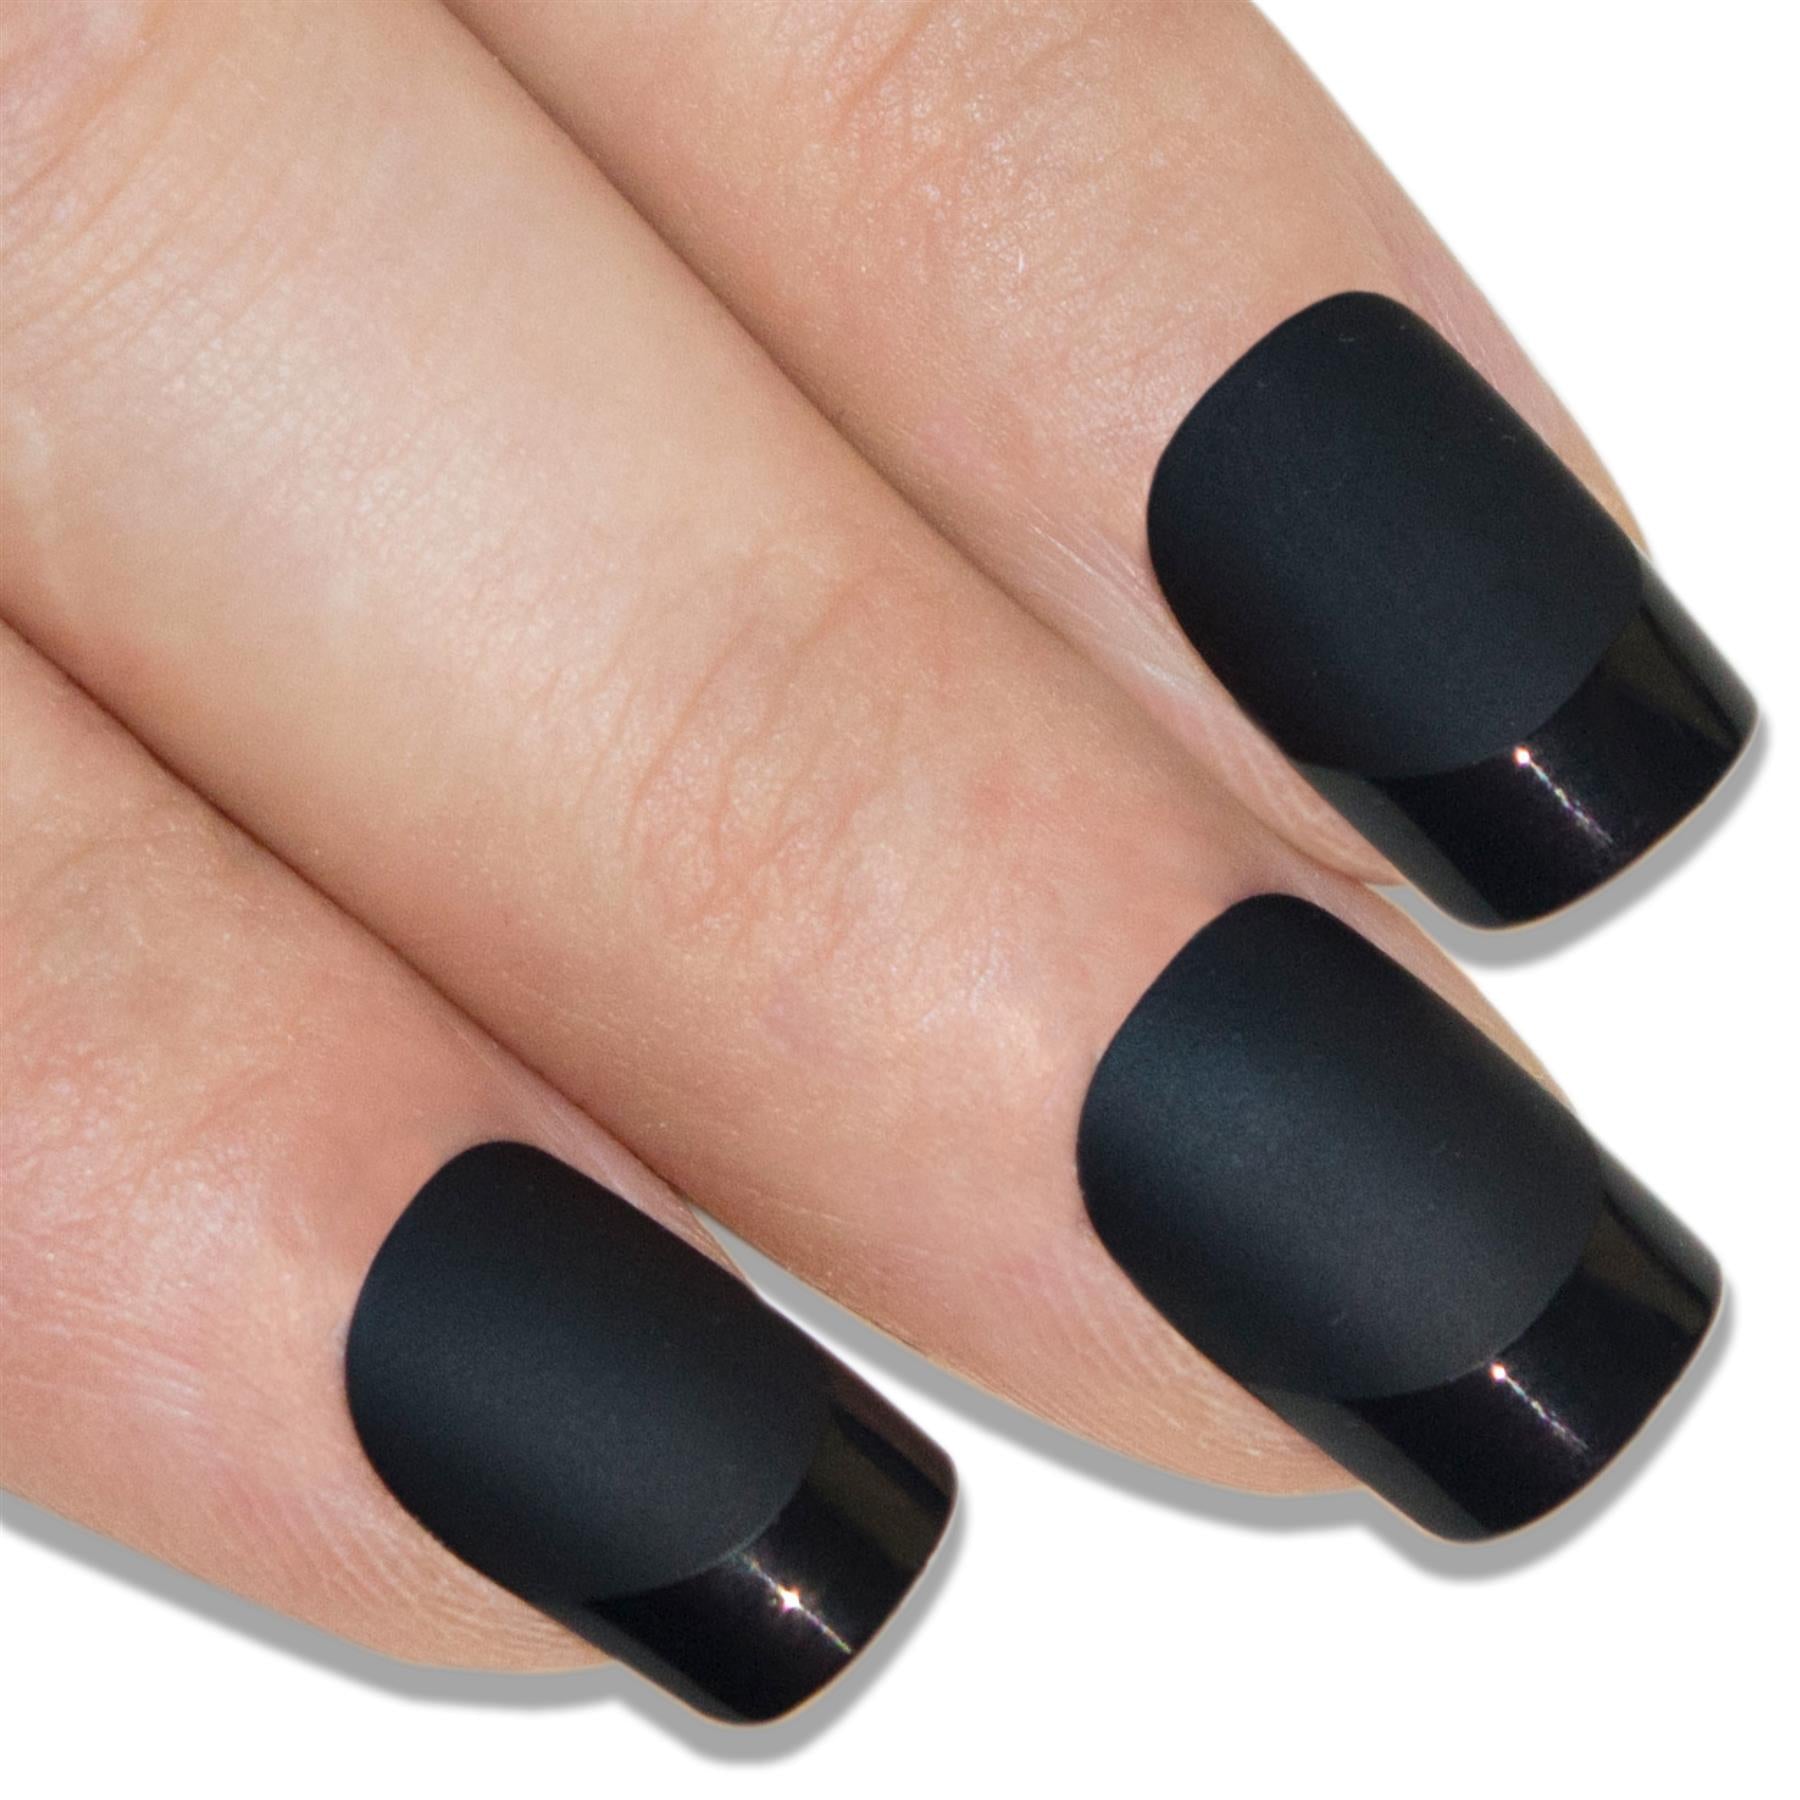
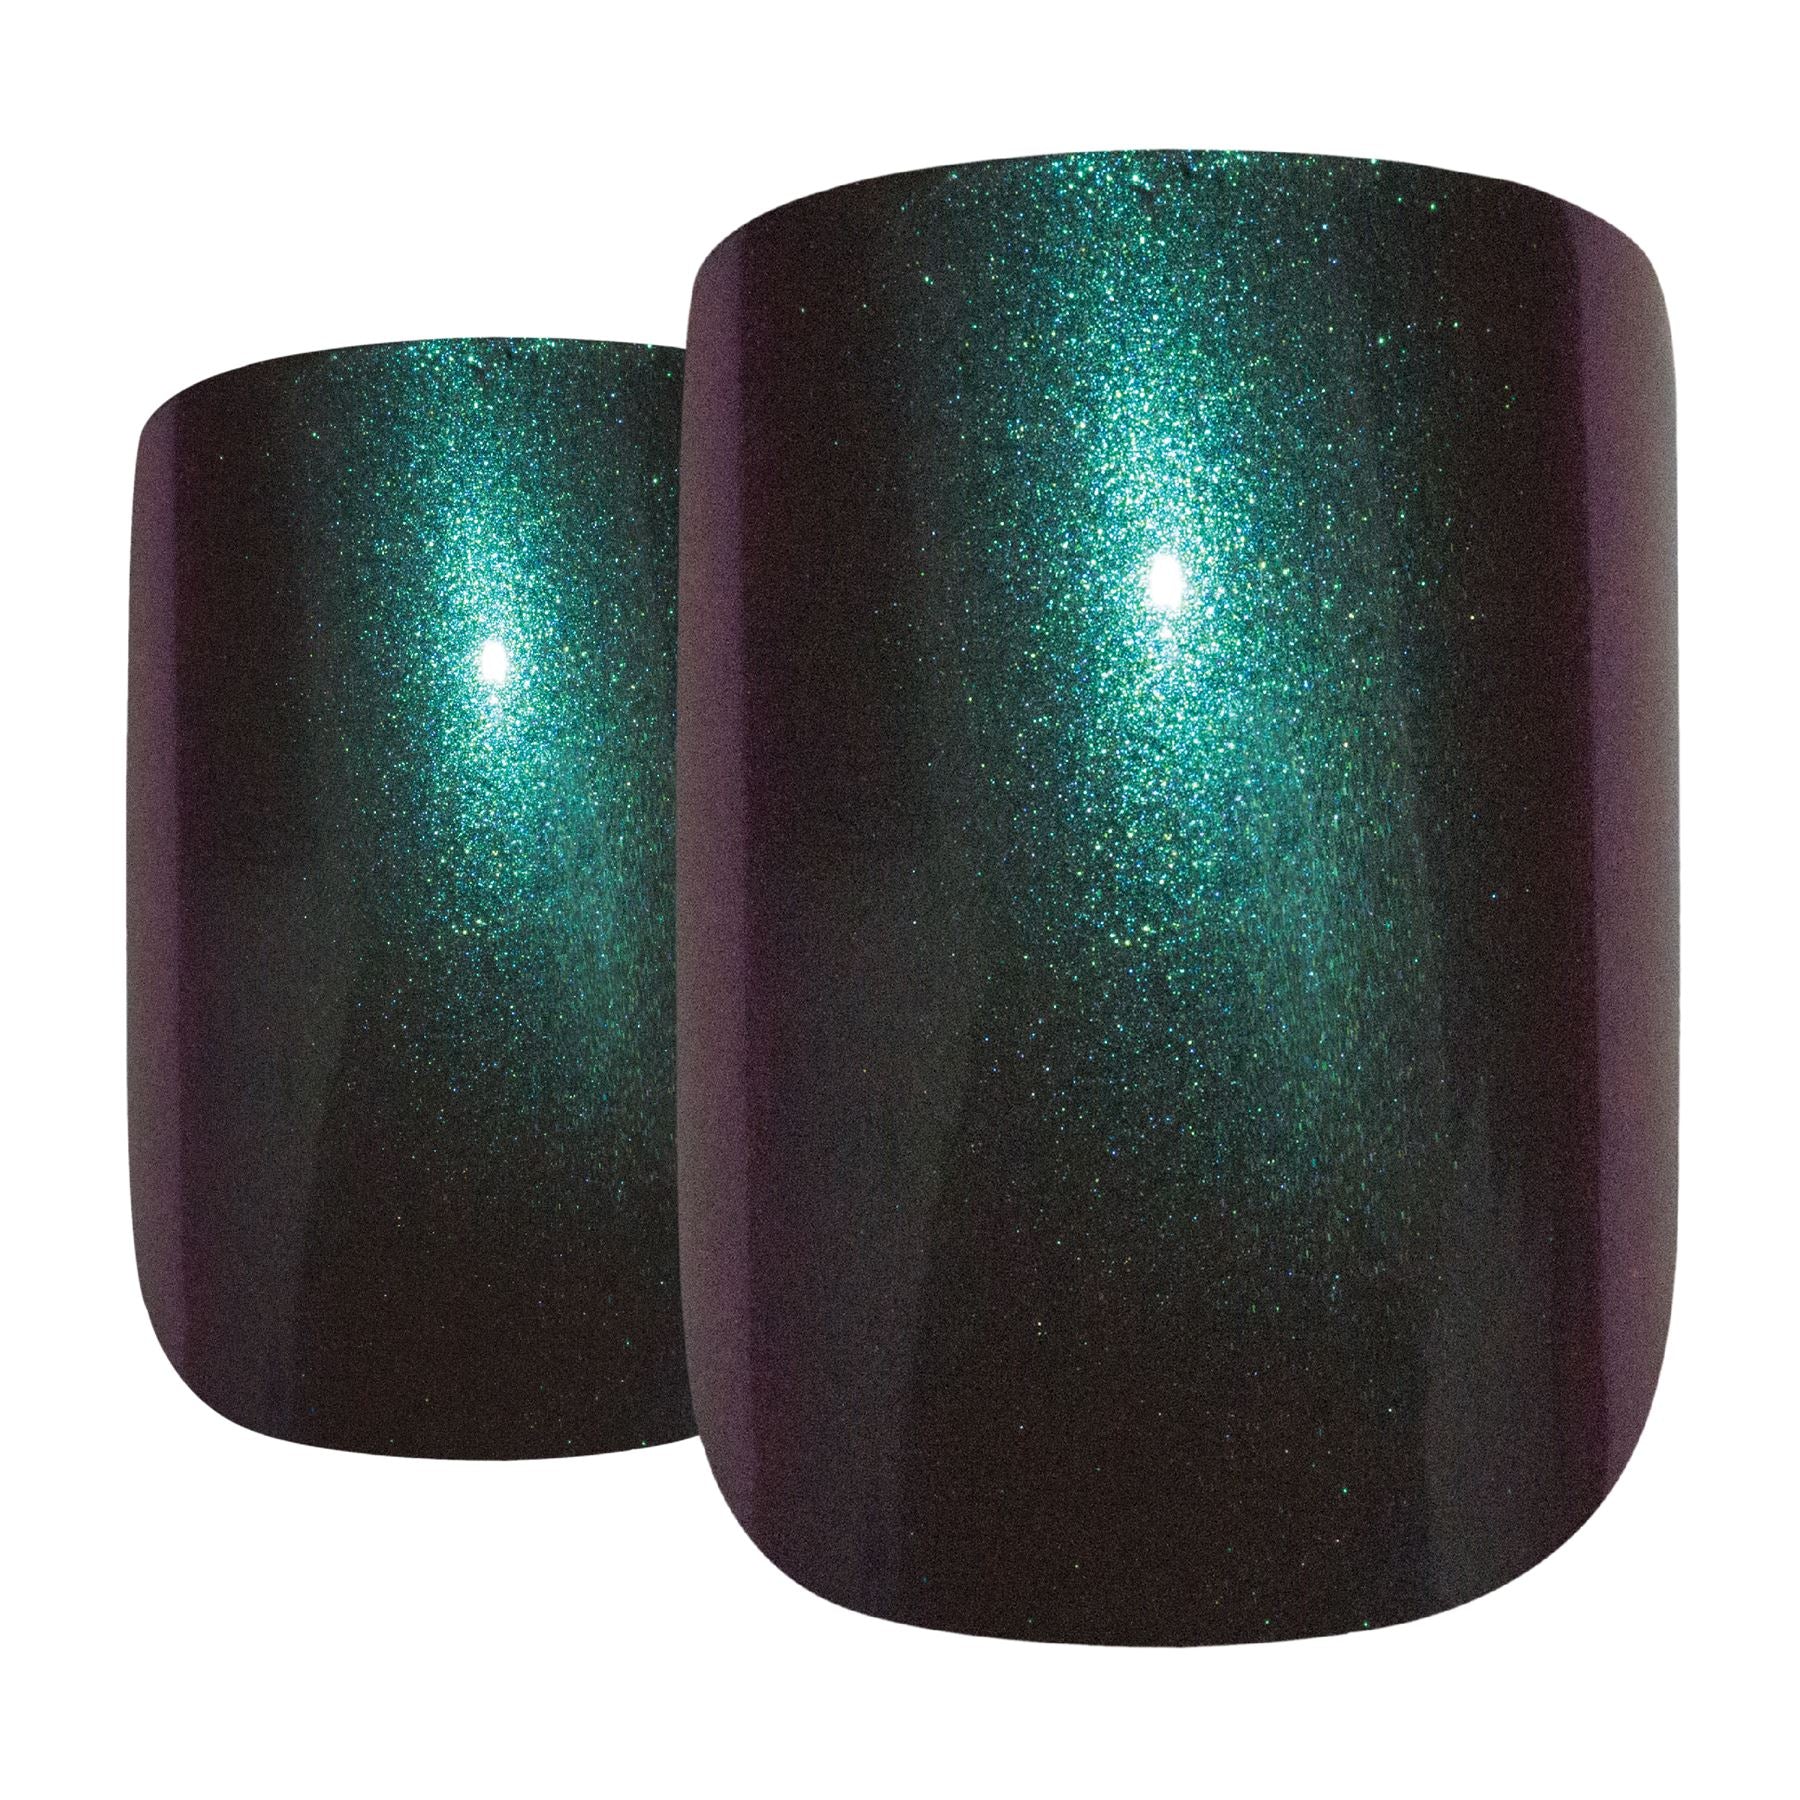
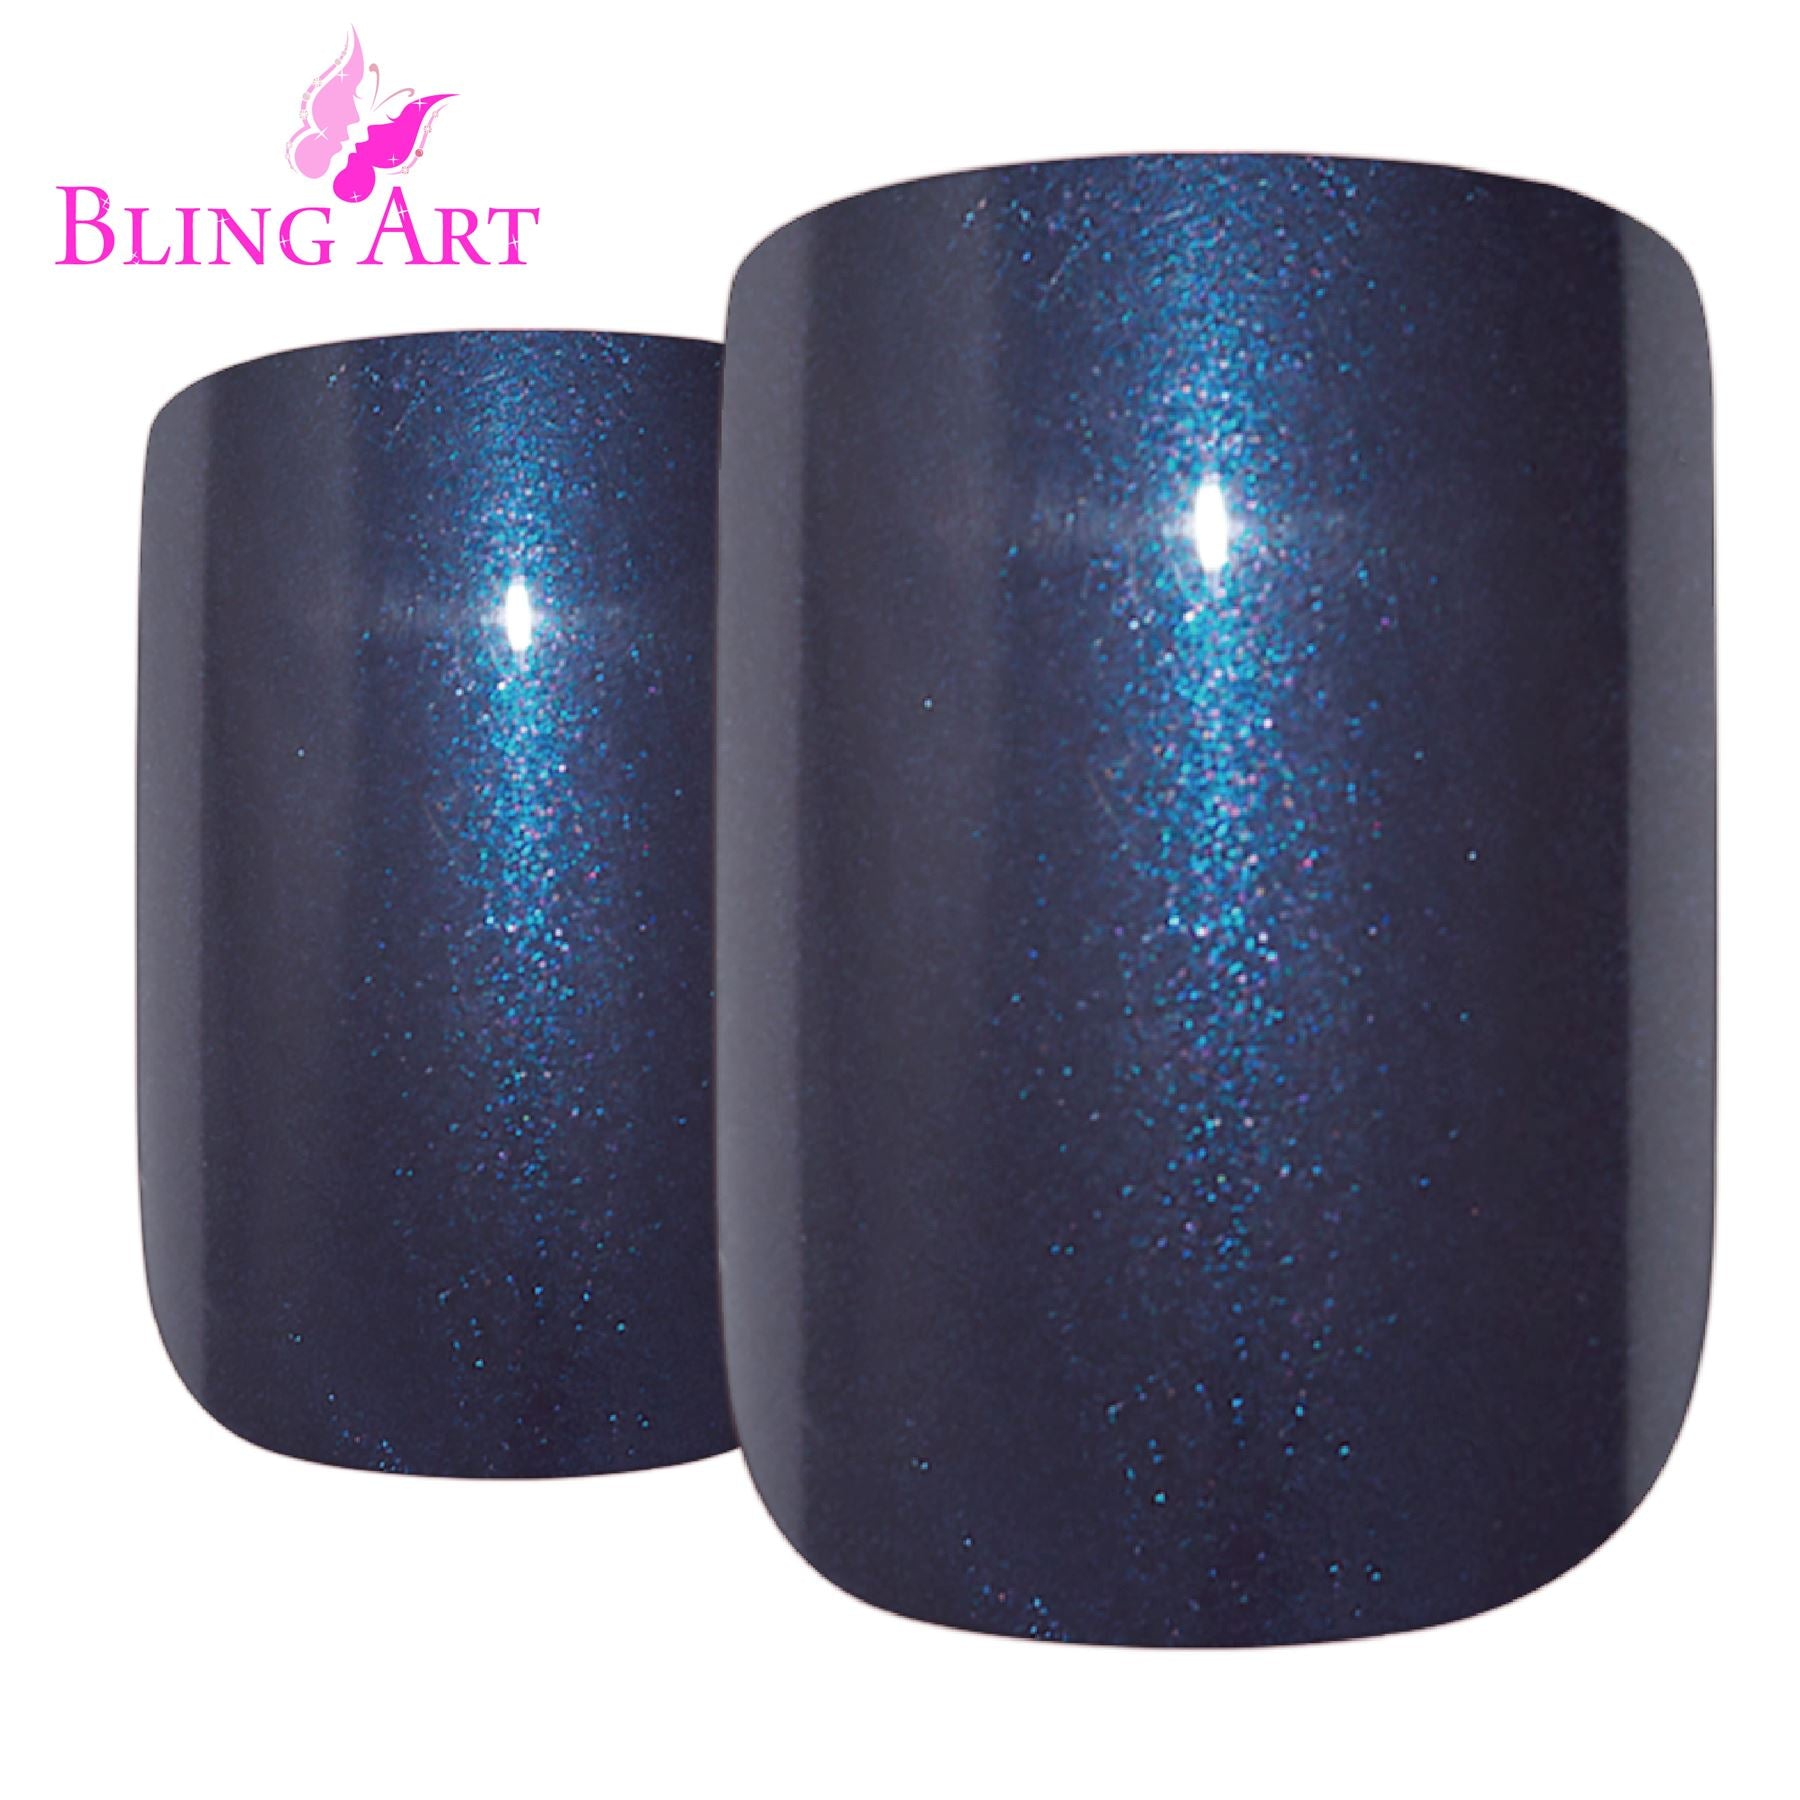
First, pick the false nails you want. There is no shortage of choice, with style selections for everyone, whether you’re a laid-back, casual dresser or a chic fashionista with your finger on the pulse of the freshest new styles. How about this bang on trend Matt Black Mani, with its sleek styling and uber-cool shine-free finish?All our nails are manufactured to international size Medium, and each tip is graded according to size using a numerical system, 0 for largest through to 9 for the smallest. The corresponding sizes all offer different nail widths, heights, and thicknesses, and it’s important to select the best fit for each individual fingertip as this will give the very best look.
Once you’ve bought the false nails you want to apply, get everything ready for the application process. The kits come with all you need; 24 size graded tips, glue, a cuticle stick, and a nail file -just add some acetone free polish remover and a suitable space to apply them. Sit down at your workspace and spread all the nail tips out in front of you to make it easier to select the ones you want. Now check out the nail size chart graphic above, to see how you can easily view the height, width, and length of each nail tip.
The length refers to how long the false nail tip is when measured vertically, the width is how wide it is across, and the height actually refers to the thickness of the tip. If you have shorter narrower, shallow natural nail beds you will want to select a narrower, shorter tip, but if you have broader, deeper nail beds then you will require a wider, thicker tip.
Place your hands palm down on the table top and select a finger. Now pick out a nail tip that looks like it will fit the finger you want it to go on the closest. Hold it against your natural nail bed to see if it’s too wide, too long, or too thick for that fingertip – remember a balanced look is important if you want a truly professional finish. As each of our tips is graded by size, you can refer to the height, width, and length that accompanies each size grade via the chart. So if you’ve picked say a tip that’s marked size 8 for example, and you find it’s too wide for your nail bed, try moving down to a size 9 tip as it offers a narrower fitting.
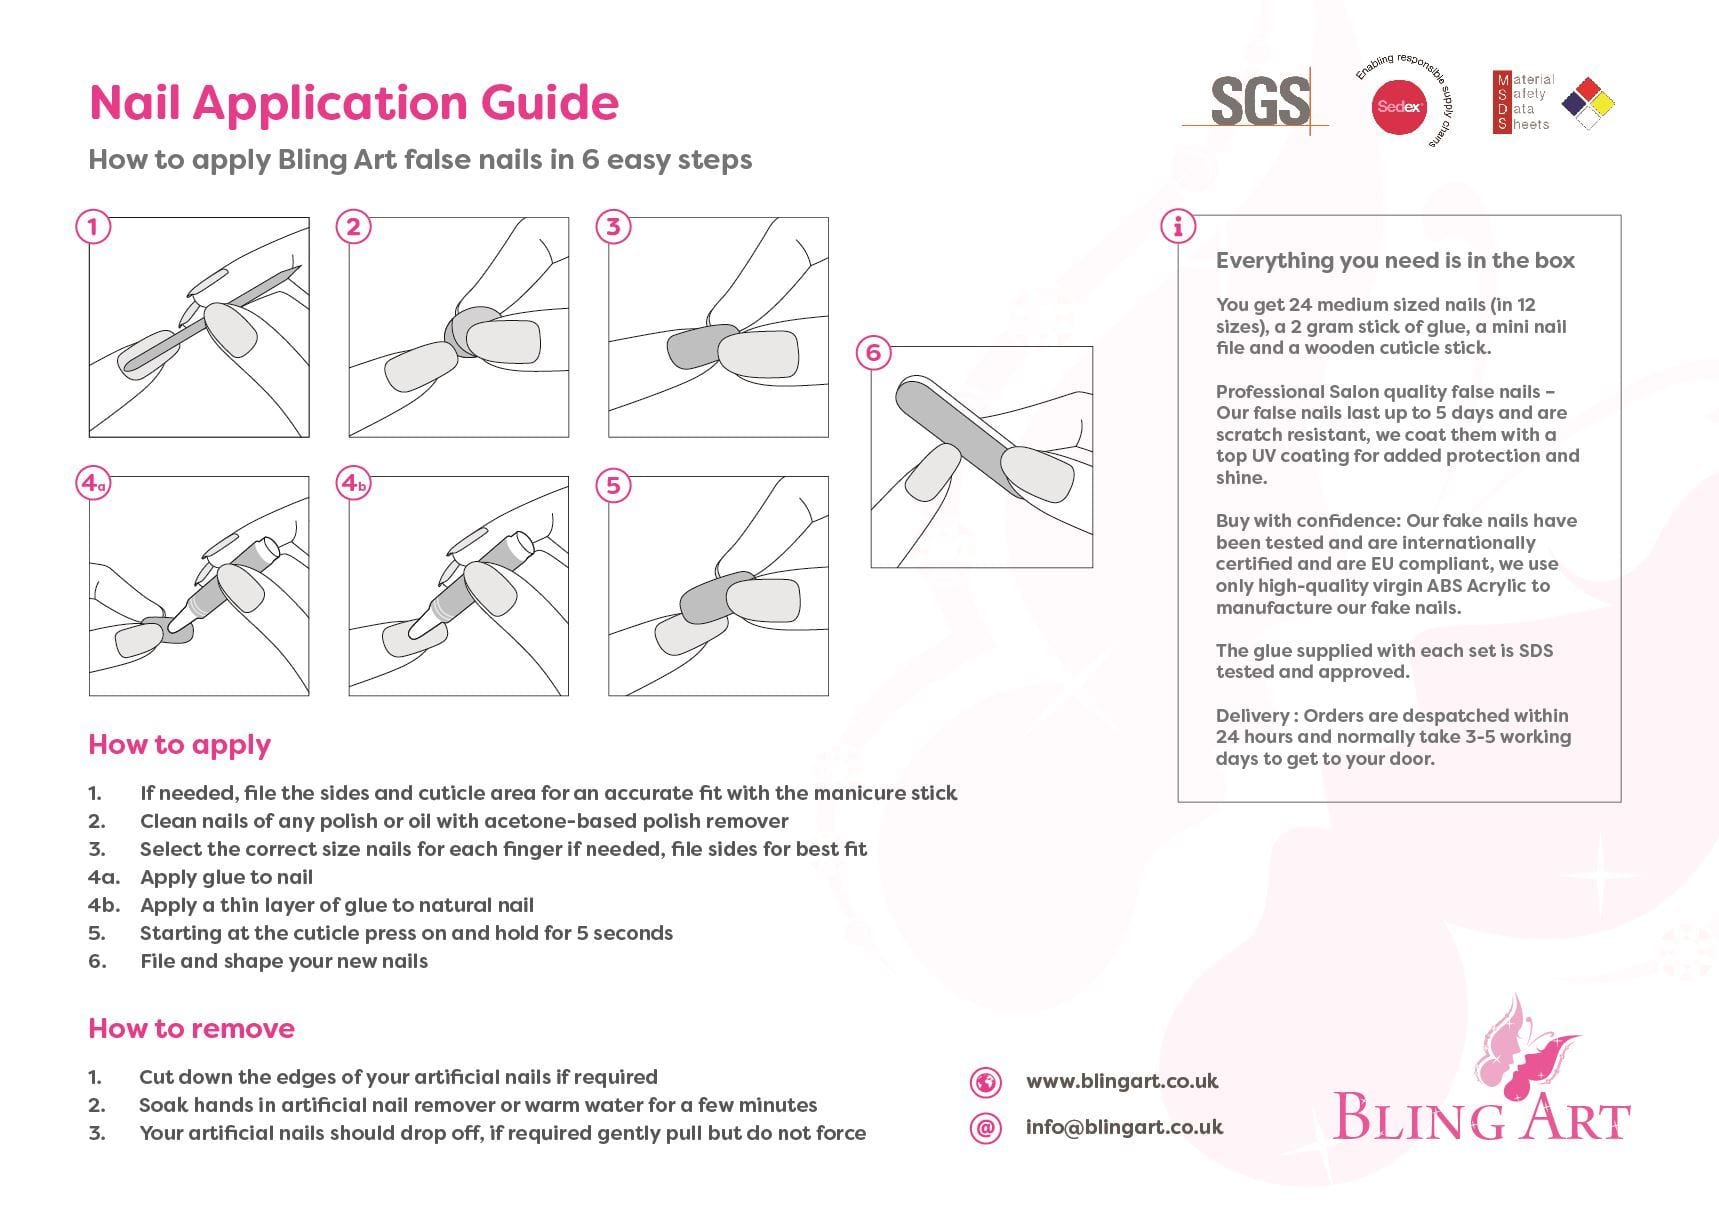
There’s another crucial step you mustn’t skimp if you want to get the most out of your mani and that’s shaping your tips for a perfect custom fit. All salon manicurists and nail pros do this as our hands are so individual, varying greatly from person to person. Even though our nails are designed by experts and can be applied right out of the box, it would be nearly impossible to get an absolutely spot on fit for everyone - that’s why you need this crucial step. File the sides and top of each tip carefully, shaping it exactly how you want it, and when you’re satisfied with the fitting, you’re ready to apply. Refer to our super-easy application guide for a real salon-pro style manicure with your beautiful new false nails and get ready to bring some serious glamour to your look!